Updating Spring Boot 2 Backend
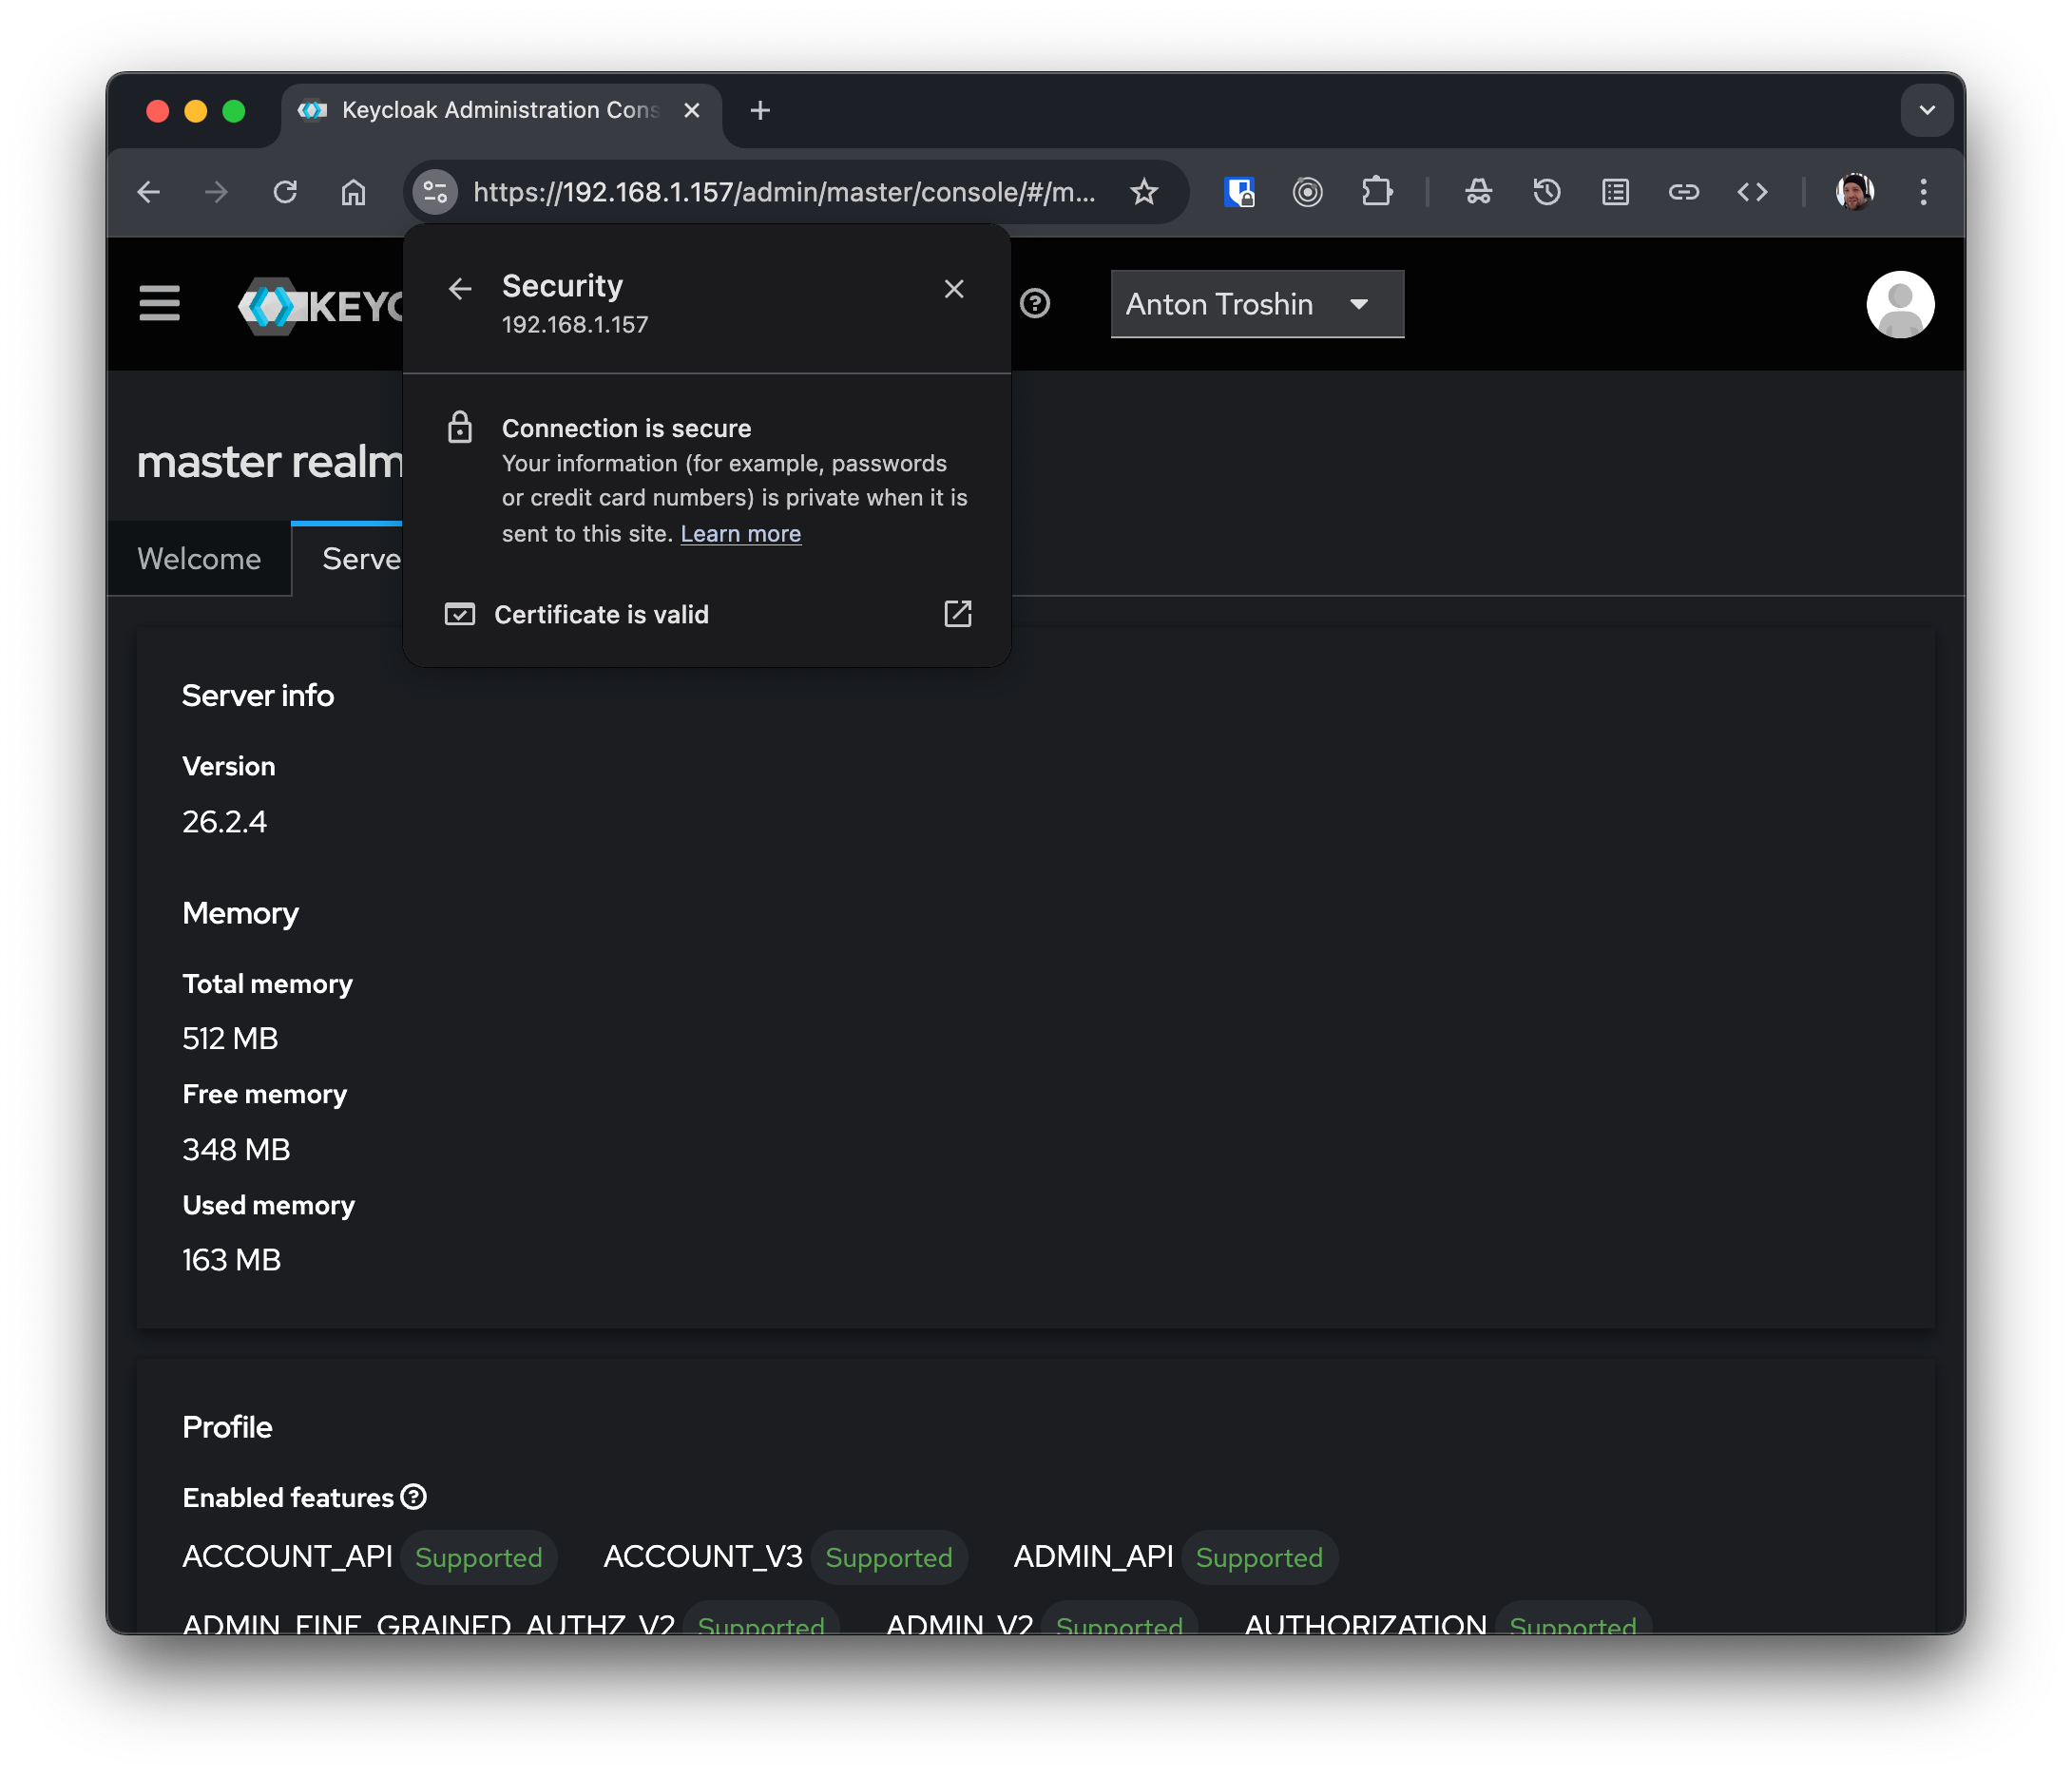
After a new instance of Keycloak is up and running, Spring Boot 2 backend can work with the HTTPS version of the new instance after the Keycloak URL and the application shared secret are updated. There is only one condition to meet: the Keycloak certificate has to be imported into the Docker container of Spring Boot backend.
Updating Keycloak Endpoint
The following dependency is being used (the migration to Spring Security is in the next chapter):
dependencies {
//...
    implementation 'org.keycloak:keycloak-spring-boot-starter:25.0.3'
//...
}
Checking the application configuration:
spring:
  auth:
    authServer: "${KEYCLOAK_URL}:${KEYCLOAK_PORT}/realms/${keycloak.realm}/protocol/openid-connect"
    clientSecret: ${KEYCLOAK_SECRET}
The placeholders are properties taken from the environment variables for the Docker container, for example:
KEYCLOAK_URL=http://192.168.1.157
KEYCLOAK_PORT=443
KEYCLOAK_SECRET=${KEYCLOAK_SECRET}
KEYCLOAK_CLIENT=clematis-money-tracker-api
And I also had to update Jenkins secret named MT_API_KEYCLOAK_SECRET which is being copied
into the KEYCLOAK_SECRET during the build.
Importing Keycloak Certificate
The same certificate which I downloaded earlier to install on my MacBook, I will use to make the next step:

I have to add it to the Java trusted certificate store in the Docker container of the Money Tracker API application for the application to trust the certificate and establish an HTTPS connection to Keycloak.
Java cacerts file as a trusted certificate store, typically located in the jre/lib/security directory.
This file holds certificates from Certificate Authorities (CAs)
that are trusted by the Java Runtime Environment.
Jenkins Configuration
Since the builds and deploys are handled by Jenkins, the ultimate destination for Keycloak certificate is the internal Jenkins storage for secret files.
The ID for the secret file in this example is keycloak_certificate.
Jenkins Pipeline Modification
Now then we have a secret file in Jenkins, we just need to copy it to the workspace filesystem where the Docker build process can find it, for example:
     stage('Build docker image') {
        steps {
            script {
               // Using secret file
               withCredentials([
                  file(credentialsId: 'keycloak_certificate', variable: 'SSL_CERT'),
               ]) {
                  sh """
                     cp "$SSL_CERT" "${WORKSPACE}/jenkins/keycloak.pem"
                     docker build -t clematis.mt.api .
                  """
               }
            }
        }
    }

    // clean up the pem file
    post {
        always {
            sh '''
               rm -rf "${WORKSPACE}/jenkins/keycloak.pem"
            '''
        }
    }
The line cp "$SSL_CERT" "${WORKSPACE}/jenkins/keycloak.pem" will copy the file from
the secret storage to the file system.
Docker Container Build Modification
Docker will have to import the certificate with keytool, so the original file gets
two more lines of code:
# Import Keycloak Cert to JRE cacerts
COPY jenkins/keycloak.pem /tmp/keycloak.pem
RUN keytool -importcert -file /tmp/keycloak.pem -alias keycloak -cacerts -storepass changeit -noprompt
After build and redeployment, the application is able to connect to Keycloak securely and validate the tokens sent to its REST API.
Note that the REST API itself is still served over HTTP.
Letting Spring Know It Is Behind A Proxy
The last but not the least is for Spring to be able to generate HATEOAS links with a correct address and protocol. However, java backend doesn't know anything about the frontend load balancer or proxy. In our case we have an Openresty proxy working for Angular and serving content in HTTPS. Links generated for Spring HATEOAS will be the direct ones, like in the example below:
{
  "_links": {
    "self": {
      "href": "http://192.168.1.119:8080/api/commodities/52"
    },
    "commodity": {
      "href": "http://192.168.1.119:8080/api/commodities/52{?projection}",
      "templated": true
    }
  }
}
To fix this, one should add the following configuration to Spring Boot:
server:
  forward-headers-strategy: framework
and the following bean to the Spring Boot application:
@Bean
public ForwardedHeaderFilter forwardedHeaderFilter() {
   return new ForwardedHeaderFilter();
}
To check if the X-forwarded-* are actually being sent by Openresty:
sudo tcpdump -A -i any port 18085 | grep -i forwarded