Switch to HTTPS
It is better to have Keycloak HTTPS installed even in the internal network for various reasons, mostly for better understanding production challenges in the open environments. Also, even for PoC, it would mean it is ready to be deployed in the cloud.
Keycloak has secure mode built-in, so it is possible to switch to it; or it is possible to install a proxy and let Keycloak know it is behind a proxy. The latter is more flexible in maintenance.
Install Nginx In The Keycloak LXC
Given Keycloak LXC is running in the Proxmox environment, it is easy to install Nginx from Debian repositories:
sudo apt install nginx
Nginx will be working with certificates, and here we also have a choice: either a self-signed certificate generated with OpenSSL or a certificate with locally trusted certificate authorities. For the latter, which is preferred, mkcert tool is used.
Generate Mkcert Certificates
Install mkcert tool via Debian package manager on the same VM with Proxmox and Nginx:
sudo apt install mkcert
Run the following commands to install a local certificate authority and to generate the certificate for Nginx (note, it is required to provide IP-address of the server):
mkcert -install
mkcert 192.168.1.157 keycloak.clematis
It will create two files with default names in the current directory, which should be copied to standard directories after that:
sudo cp 192.168.1.157+1.pem /etc/ssl/certs/
sudo cp 192.168.1.157+1-key.pem /etc/ssl/private/
Configuring Nginx
Now it is time for Nginx configuration:
sudo nano /etc/nginx/sites-available/default
The valid and complete configuration is below:
server {
    listen 80 default_server;
    listen [::]:80 default_server;
    return 301 https://$host$request_uri;
}

server {
    #
    # SSL configuration
    #
    listen 443 ssl default_server;
    listen [::]:443 ssl default_server;

    ssl_certificate /etc/ssl/certs/192.168.1.157+1.pem;
    ssl_certificate_key /etc/ssl/private/192.168.1.157+1-key.pem;

    location / {
            proxy_pass http://192.168.1.157:8080;
            proxy_set_header Host $host;
            proxy_set_header X-Real-IP $remote_addr;
            proxy_set_header X-Forwarder-For $proxy_add_x_forwarded_for;
            proxy_set_header X-Forwarded-Proto $scheme;
    }

}
Nginx is using HTTP headers to communicate with Keycloak, and the next step is to tune Keycloak up to understand these headers.
A few words about CORS configuration. It should not be done in nginx, Keycloak handles it internally, and it is configured for every client separately. Nginx CORS will conflict with one from Keycloak.
Configuring Keycloak
There is a good piece of documentation on Keycloak configuration, I was following it to make this step.
Keycloak loads the configuration from four sources, which are listed here in order of application.
- Command-line parameters
- Environment variables
- Options defined in the conf/keycloak.conf file or in a user-created configuration file.
- Sensitive options defined in a user-created Java KeyStore file.
For the LXC container it is easier to find the conf/keycloak.conf file:
sudo nano /opt/keycloak/conf/keycloak.conf
Add the following line to it:
proxy-headers=xforwarded
Restart Keycloak service:
sudo service keycloak restart
Keycloak re-compiles some parts of itself during startup, however unusual it may seem, so after it is restarted, there will be a set of proxy-related lines in the configuration:
cd /opt/keycloak/bin
./kc.sh show-config

Current Mode: development
Current Configuration:
 # some lines are omitted for brevity
        kc.proxy-forwarded-host =  xforwarded (keycloak.conf)
        kc.proxy-allow-forwarded-header =  xforwarded (keycloak.conf)
        kc.proxy-trusted-header-enabled =  xforwarded (keycloak.conf)
        kc.proxy-headers =  xforwarded (keycloak.conf)
        kc.proxy-allow-x-forwarded-header =  xforwarded (keycloak.conf)
How To Trust A Certificate
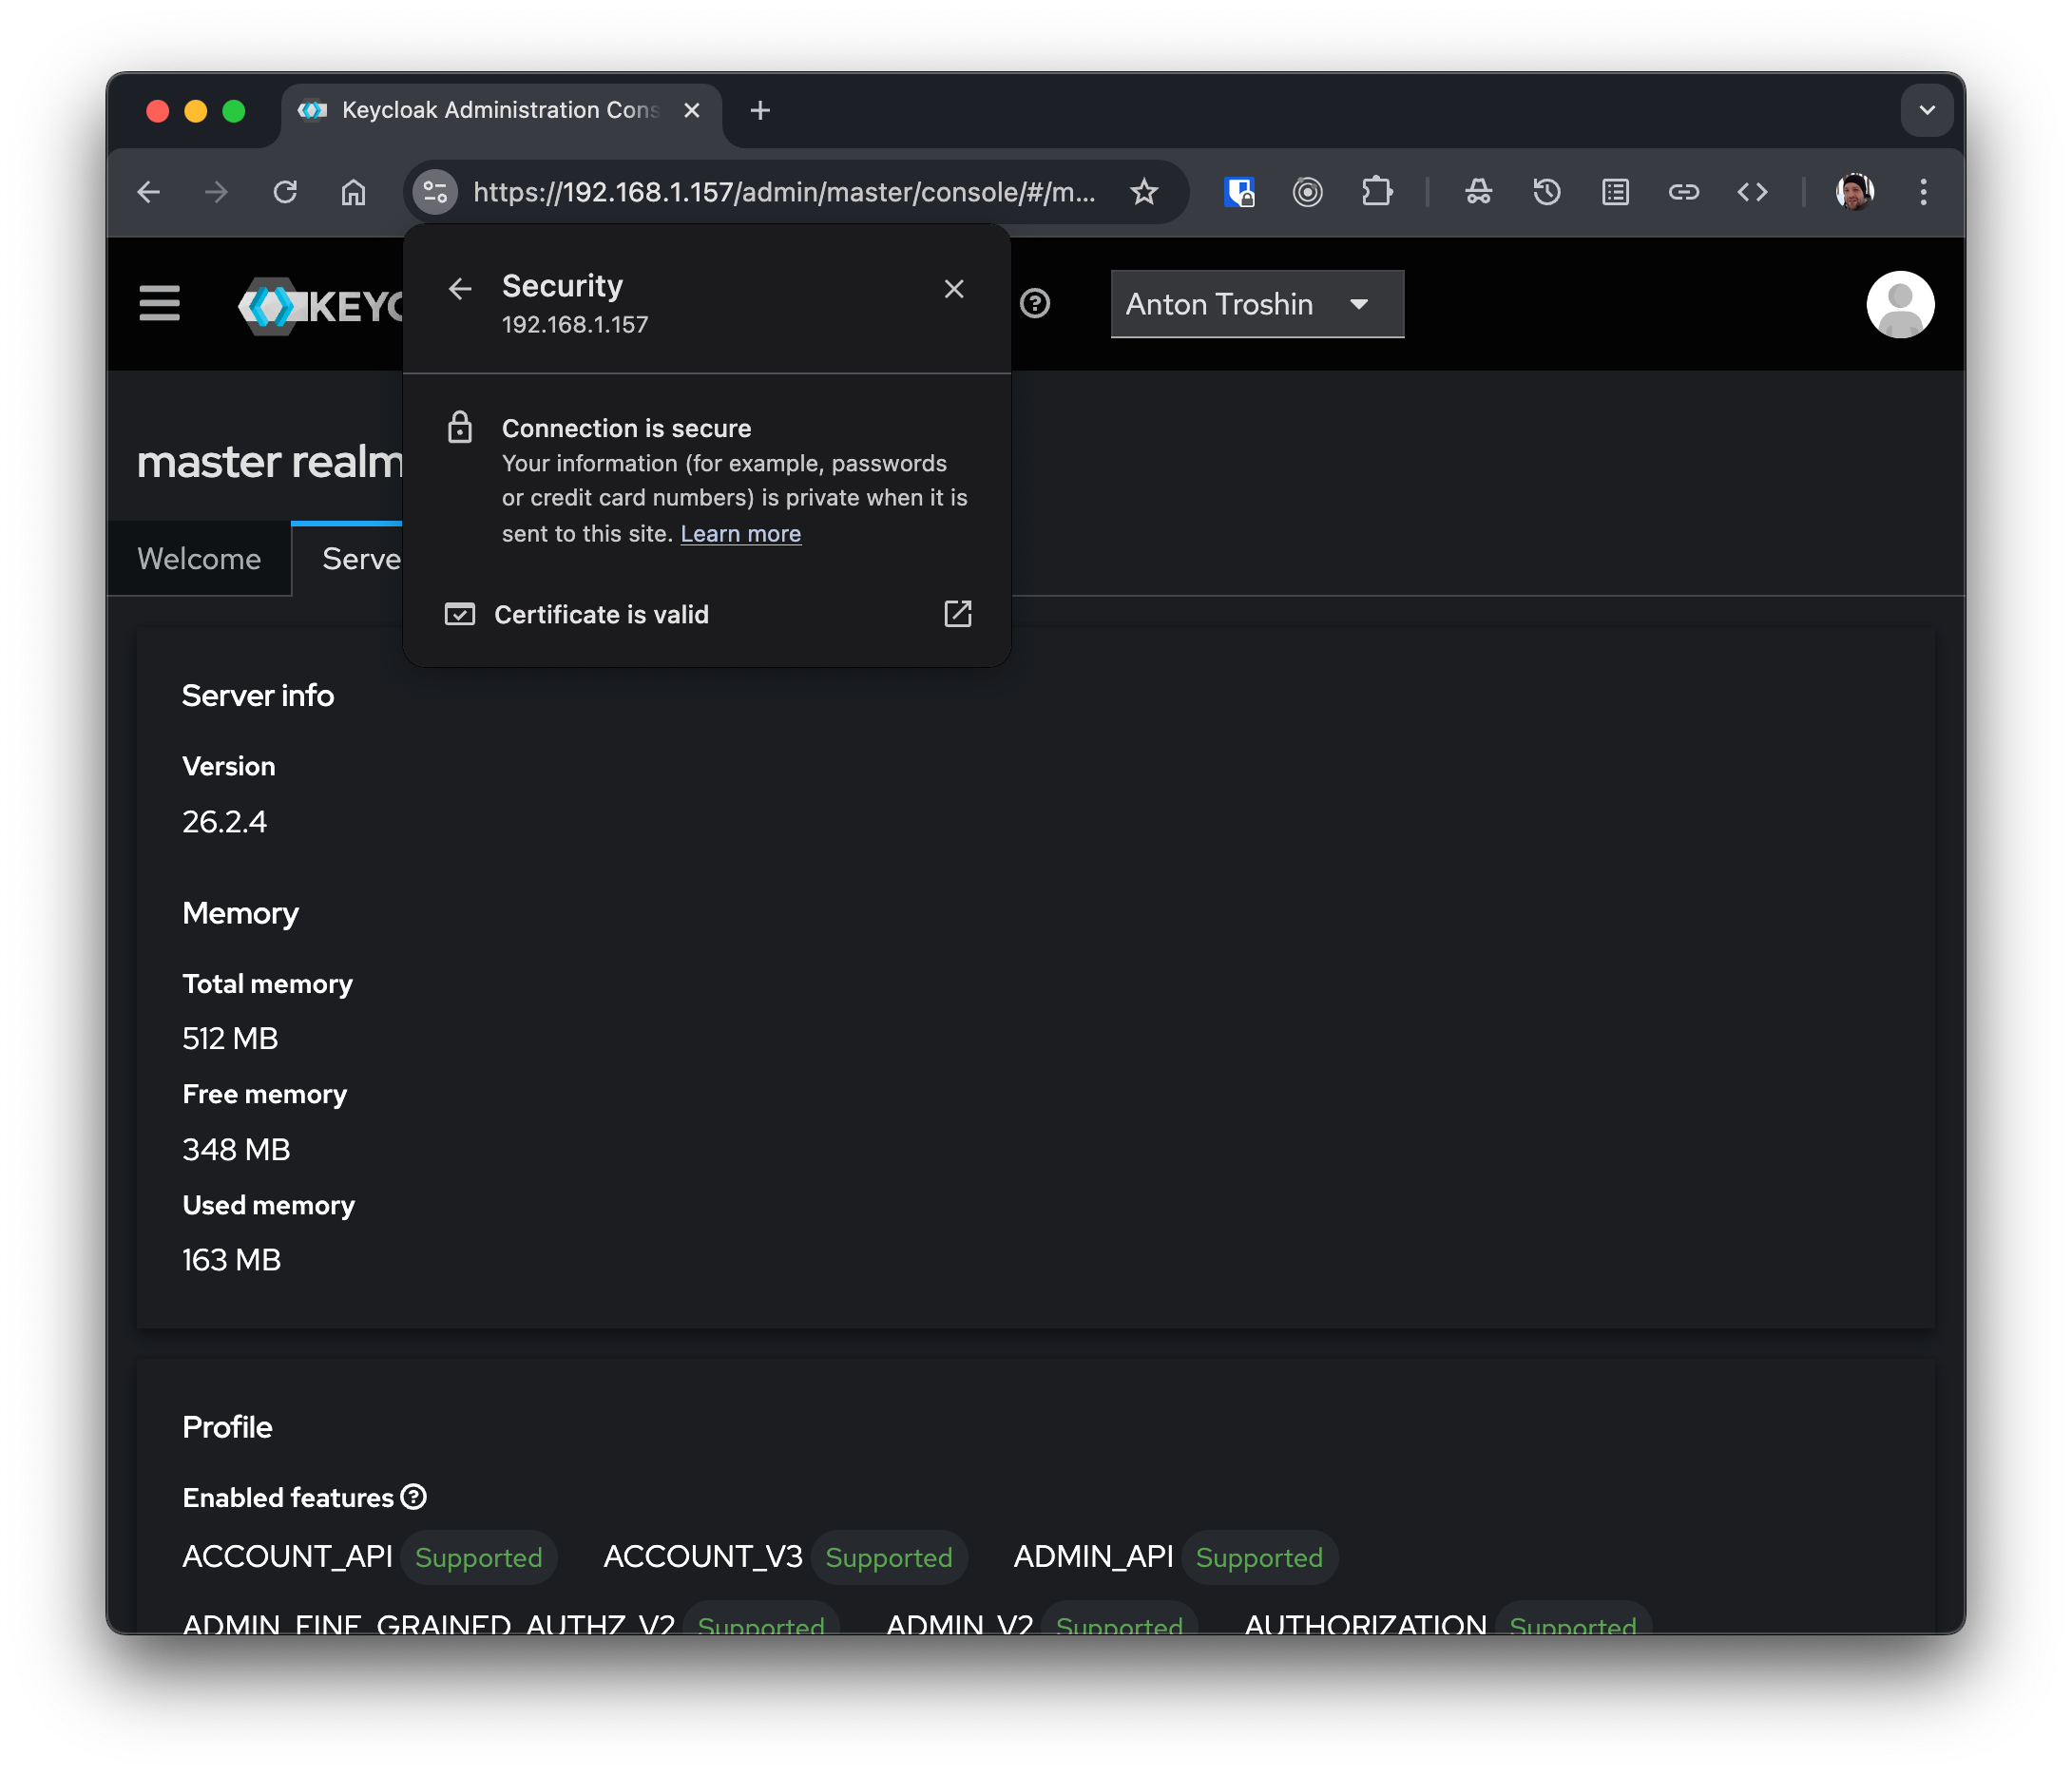
The goal is to have the Keycloak Web UI loaded with a valid certificate in your browser:
The procedure is different for various operating systems, but here we assume we have the root CA certificate from the server which generated the site certificate:
- To get one, run the following command on the server where
mkcertwas installed, for example:
$ mkcert -CAROOT
/home/anton/.local/share/mkcert
and then check the files in the directory:
$ ls -l /home/anton/.local/share/mkcert
total 8
-r-------- 1 anton anton 2484 Jul  1  2025 rootCA-key.pem
-rw-r--r-- 1 anton anton 1643 Jul  1  2025 rootCA.pem
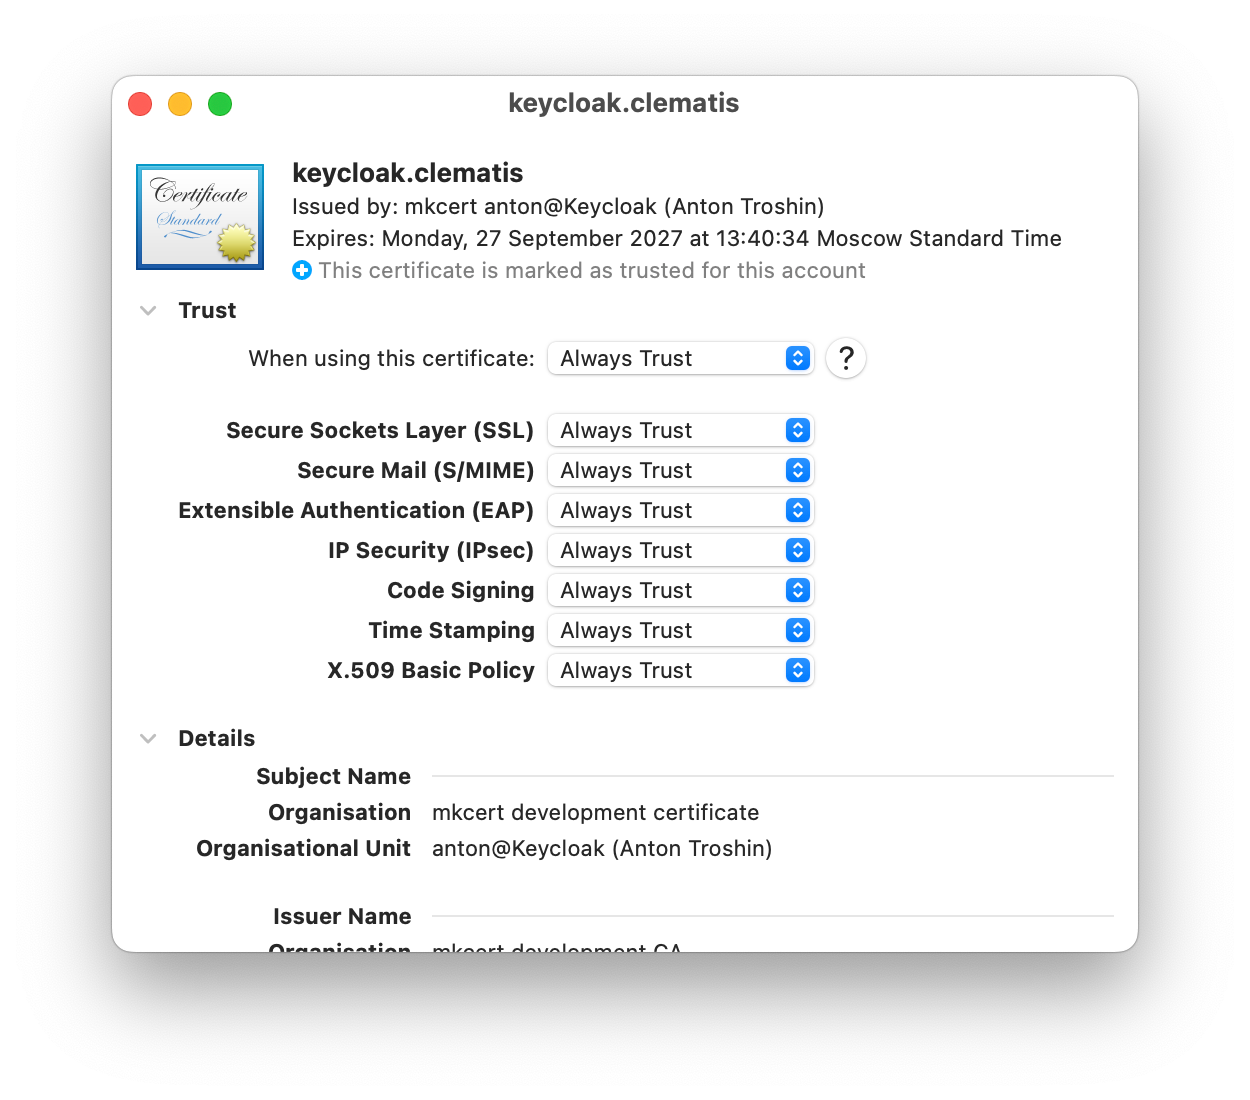
- Copy the
rootCA.pemfile to the local client machine. - The certificate file then can be opened with the Keychain Access utility and selecting 'Always Trust' option on macOS or follow the instructions for your operating system.
Once the application is moved to its own domain name, it will be possible to get the certificate from the certificate authority.