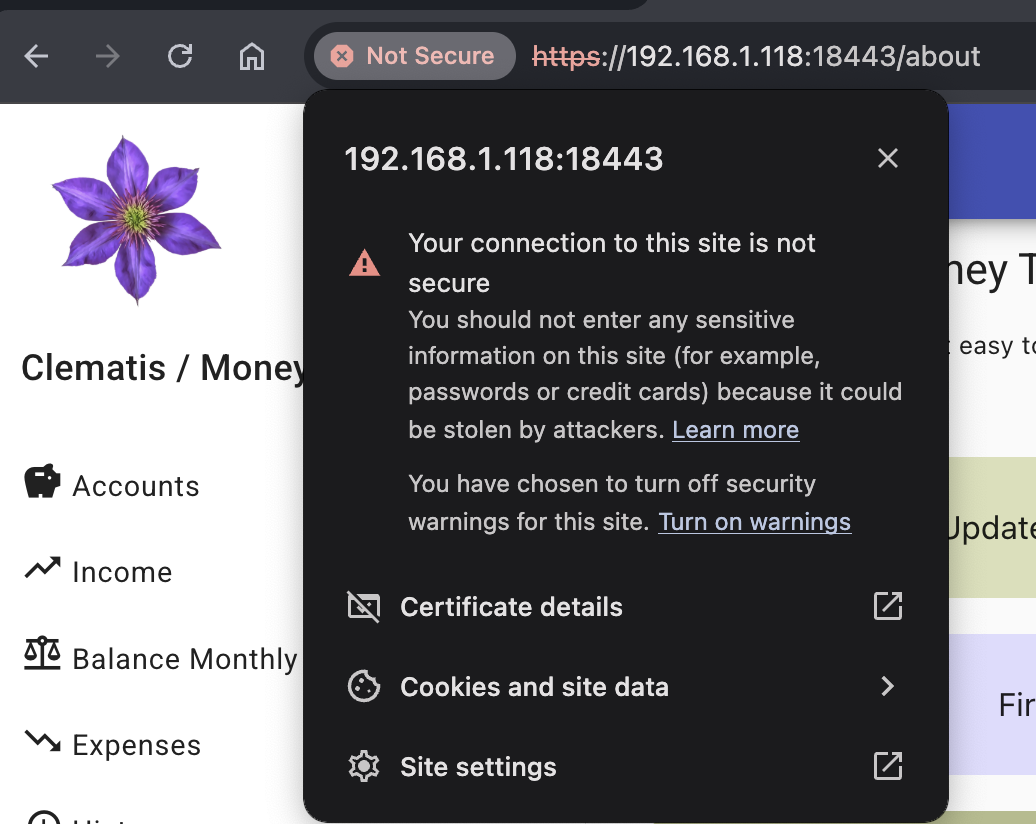
Angular Frontend Switch to HTTPS
Keycloak checks storage access during authentication to know if it is able to work with the local storage of the client's
browser. If the connection is not secured, development console will show a message Access to storage is not allowed from this context.
There is also a definitive bias towards excluding non-secure connections from support in Keycloak, for example in the
following thread:
enforce security on Keycloak users.
Having said that, it is a good practice to enable HTTPS for the applications which use Keycloak even
if the server and the applications are on the local network.
Generate An OpenSSL Certificate (Not Recommended)
To create a self-signed certificate for our local network using OpenSSL
and a private key in the nginx/ssl directory:
mkdir -p nginx/ssl
openssl req -x509 -newkey rsa:2048 \
    -keyout nginx/ssl/private.key \
    -out nginx/ssl/certificate.crt
- X.509 is a standard format for public key certificates. Each X.509 certificate includes a public key, identifying information, and a digital signature.
- -newkey rsa:2048: Generates a new private key using the RSA algorithm with a 2048-bit length
Browsers will still show a warning if this certificate is used in lower environments.
Generate Mkcert Certificates
It is recommended to generate mkcert certificates as for Keycloak earlier.
Install mkcert tool via Debian package manager on the same
host VM with Clematis Money Tracker Docker container:
sudo apt install mkcert
Run the following commands to install a local certificate authority and to generate the certificate for Nginx (note, it is required to provide IP-address of the host VM, not the Docker container):
mkcert -install
mkcert 192.168.1.118 clematis.money.tracker
It will create two files with default names in the current directory, which should be installed to Jenkins in the next step, which will copy then to Nginx inside the Docker image during the build.
Jenkins Configuration
Since the builds and deploys are handled by Jenkins, the ultimate destination for these files is the
internal Jenkins storage for secret files.
For example, the names can be: nginx-ssl-cert and nginx-ssl-key.
Storing The Certificate In A Docker Volume
Now the Jenkins pipeline can be used to export files from Jenkins internal storage to the remote Docker volume, the certificate files have to be uniquely named to avoid conflicts.
pipeline {
    agent any
    environment {
      CERT_DIR = "${WORKSPACE}/docker/nginx/ssl"
    }

    stages {

        # The rest of the pipeline

        stage('Prepare Directories') {
            steps {
                sh '''
                   # Create directory structure with proper permissions
                    mkdir -p "${CERT_DIR}"
                    chmod 700 "${CERT_DIR}"
                    ls -al "${CERT_DIR}"
                '''
            }
        }

        stage('Deploy Certificates') {
            steps {
                withCredentials([
                   file(credentialsId: 'nginx-ssl-cert', variable: 'SSL_CERT'),
                   file(credentialsId: 'nginx-ssl-key', variable: 'SSL_KEY')
                ]) {
                    sh '''
                      cp "$SSL_CERT" "${CERT_DIR}/clematis-mt-ssl-cert.crt"
                      cp "$SSL_KEY" "${CERT_DIR}/clematis-mt-ssl-key.key"
                      chmod 644 "${CERT_DIR}/clematis-mt-ssl-cert.crt"
                      chmod 600 "${CERT_DIR}/clematis-mt-ssl-key.key"
                    '''
               }
            }
        }

         stage('Prepare SSL Volume') {
          steps {
            sshagent (credentials: ['yoda-anton-key']) {
              sh '''
                # 1. Ensure the volume exists (does nothing if it already exists)
                ssh ${SSH_DEST} "docker volume create jenkins_ssl_certs"

                # 2. Stream and overwrite files (tar overwrites by default)
                tar -C "${CERT_DIR}" -cf - . | ssh ${SSH_DEST} "docker run --rm -i -v jenkins_ssl_certs:/ssl alpine tar -C /ssl -xf -"

                # 3. Update permissions on the new/updated files
                ssh ${SSH_DEST} "docker run --rm -v jenkins_ssl_certs:/ssl alpine sh -c 'chmod 644 /ssl/clematis-mt-ssl-cert.crt && chmod 600 /ssl/clematis-mt-ssl-key.key'"
              '''
            }
          }
        }

        // ...
    }

    post {
        always {
          sh '''
            rm -rf "${CERT_DIR}"
          '''
        }
    }
}
To recap:
- Create the directory to store certificate in the workspace
- Copy the certificate to the directory created above
- Prepare an SSL volume and copy the certificate to it.
- Deploy the applications to the Docker containers
- Remove the directory with certificates from the workspace
Docker Compose Modification
The next step is to make sure the Docker container will get the files from the Docker volume; it should be mounted to the application container, for example:
volumes:
    - ssl_certs:/usr/local/openresty/nginx/ssl:ro
The full example:
services:
  money-tracker-ui:
    container_name: clematis-money-tracker-ui
    image: money.tracker.ui.uat:latest
    ports:
      - '18081:80'
      - '18443:443'
    volumes:
      - ./nginx-default.conf:/etc/nginx/conf.d/default.conf
      - ssl_certs:/usr/local/openresty/nginx/ssl:ro
    networks:
      - clematis
    restart: unless-stopped
Adding SSL To Nginx in Openresty
Money Tracker Web Application is using Openresty image for deployment; this affects the paths needed to install certificates and configuration file.
Mind the same file names for the certificate and the key as in the previous section, (volume contains all the files):
server {
    # Redirect HTTP to HTTPS
    listen 80 default_server;
    server_name _;
    return 301 https://$host$request_uri;
}

server {
    listen 443 ssl default_server;
    server_name _;
    root /var/www/money-tracker-ui;

    # SSL configuration for OpenResty
    ssl_certificate /usr/local/openresty/nginx/ssl/clematis-mt-ssl-cert.crt;
    ssl_certificate_key /usr/local/openresty/nginx/ssl/clematis-mt-ssl-key.key;

    # Recommended SSL settings
    ssl_protocols TLSv1.2 TLSv1.3;
    ssl_ciphers ECDHE-ECDSA-AES128-GCM-SHA256:ECDHE-RSA-AES128-GCM-SHA256:ECDHE-ECDSA-AES256-GCM-SHA384:ECDHE-RSA-AES256-GCM-SHA384:ECDHE-ECDSA-CHACHA20-POLY1305:ECDHE-RSA-CHACHA20-POLY1305:DHE-RSA-AES128-GCM-SHA256:DHE-RSA-AES256-GCM-SHA384;
    ssl_prefer_server_ciphers off;

    # SSL session settings
    ssl_session_timeout 1d;
    ssl_session_cache shared:SSL:50m;
    ssl_session_tickets off;

    # HSTS (uncomment if you're sure)
    # add_header Strict-Transport-Security "max-age=63072000" always;

    # Disabled caching so the browser won't cache the site.
    expires           0;
    add_header        Cache-Control private;

    location ~* ^/auth/(.*) {
        proxy_http_version 1.1;
        proxy_pass https://192.168.1.157:443/$1; # connection to Proxmox Keycloak to fix later

        # required for Proxmox Keycloak to know it is behind the proxy
        proxy_set_header X-Forwarded-Proto https;
        proxy_set_header X-Forwarded-For $proxy_add_x_forwarded_for;
        proxy_set_header Host $host;
    }

    # API is still HTTP
    location ~* ^/api/ {
        proxy_http_version 1.1;
        proxy_pass http://192.168.1.118:18085;

        # required for Spring Boot backend application to know it is behind the proxy
        proxy_set_header   Host $host;
        proxy_set_header   X-Forwarded-Host $host;
        proxy_set_header   X-Forwarded-Server $host;
        proxy_set_header   X-Forwarded-Proto https;
        proxy_set_header   X-Forwarded-Port 18443;
        proxy_set_header   X-Real-IP $remote_addr;
    }

    # ...

    location / {
        index index.html;
        try_files $uri $uri/ /index.html;
    }
}
As a result, Nginx expects to find a certificate in its local container path:
/usr/local/openresty/nginx/ssl
How To Trust A Certificate
The same procedure as before should be done on the client side to add the certificate to the trusted store to get the clean result:
